Appearance
Instances
In Reliza Hub instances can be either Manually created - called Persistent instances, or they can be automatically provisioned using Reliza Hub - these are called Ephemeral instances or simply Ephemerals.
Further, instances can be of 2 types:
- Regular Instance
- Cluster - refer to the Cluster concept
Regular Persistent Instances
Create a Regular Persistent Instance
To create a Persistent Instance, navigate to the Instances using instance icon entry in the left-side menu first.
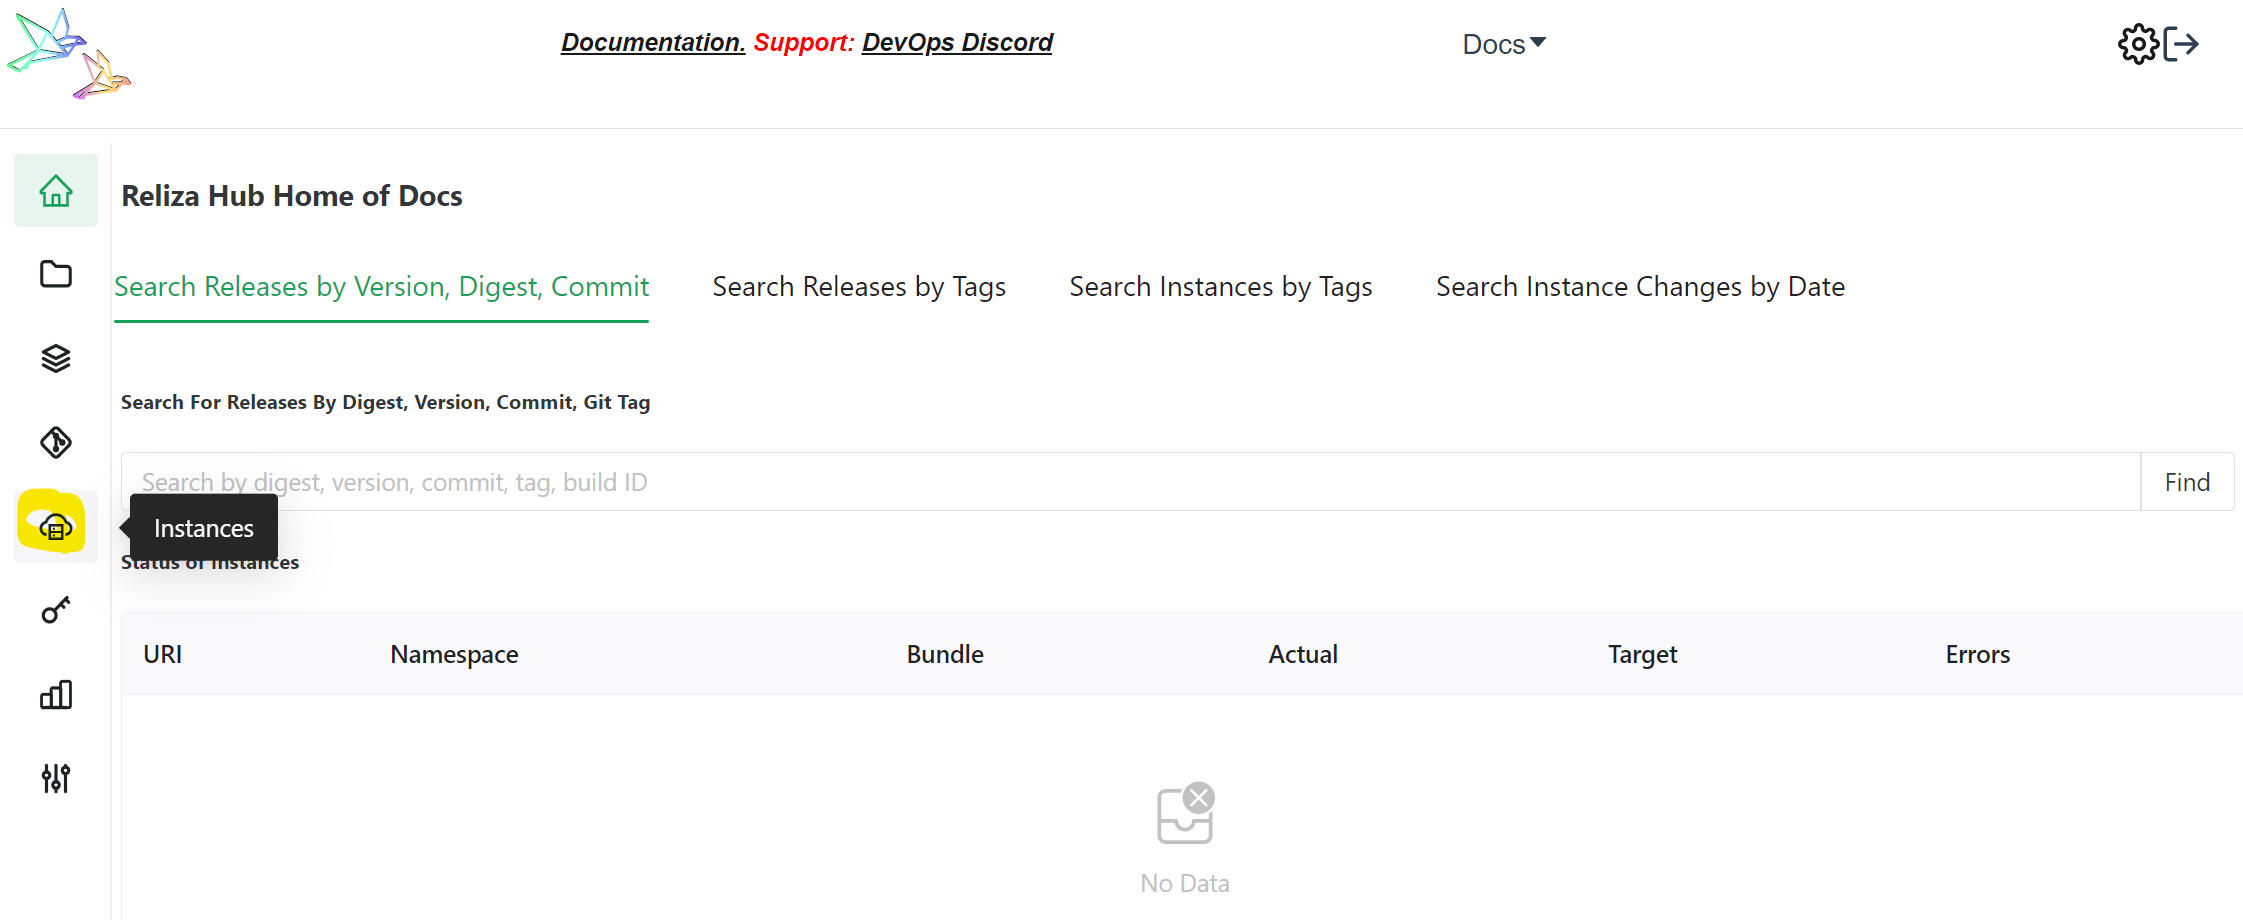
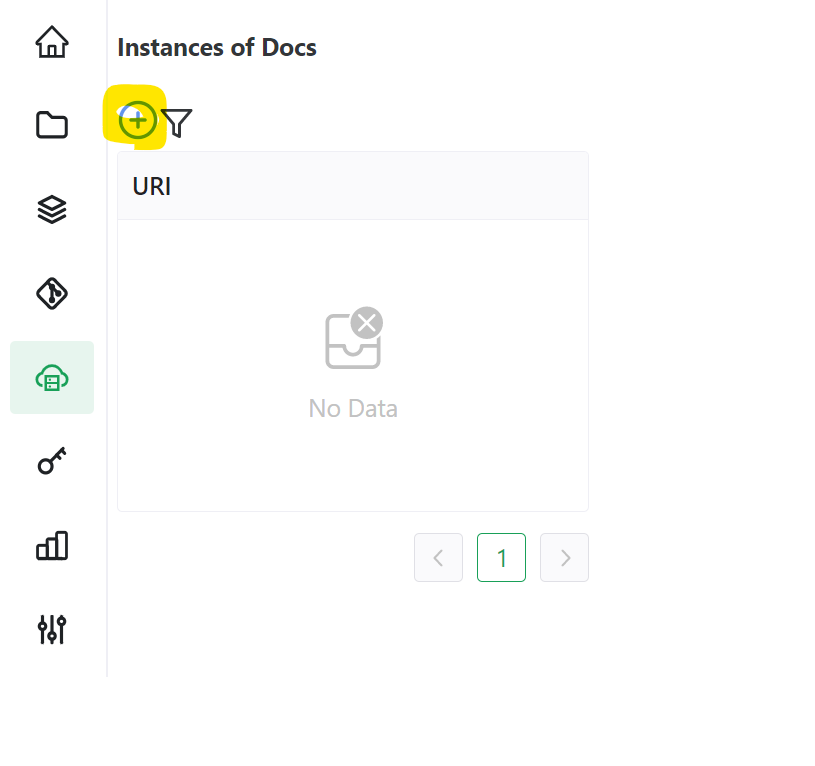
Once on the Instances page, click on the plus-circle icon to create an instance.
In the next menu stay on the Manual tab, enter actual URI for your instance (without http or https), and select an Environment from the existing ones or type a new environment name.
I.e., below is an input for the instance with the URI reliza.local on the DEV environment:
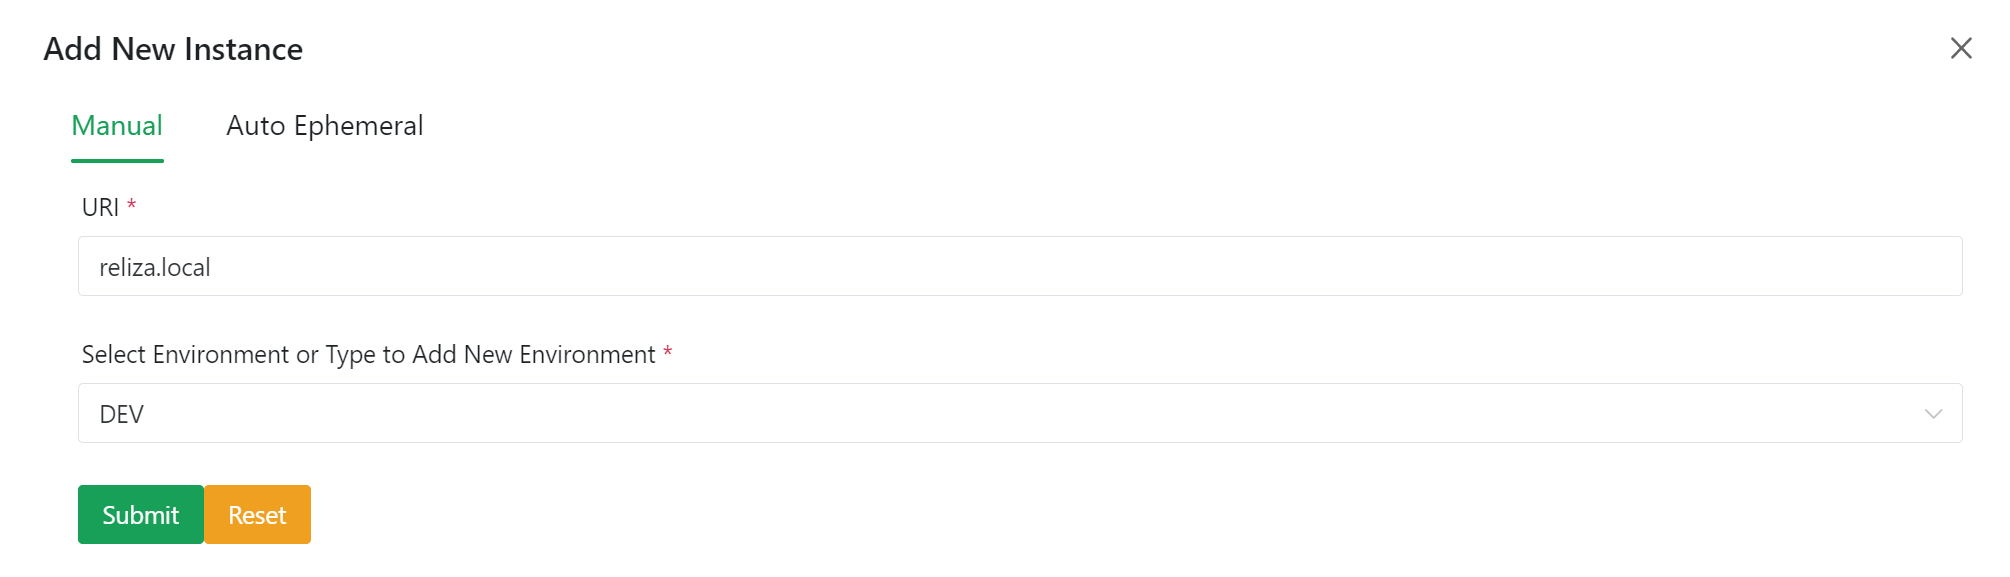
Click Submit button, and this would create an entry for the instance in the Reliza Hub.
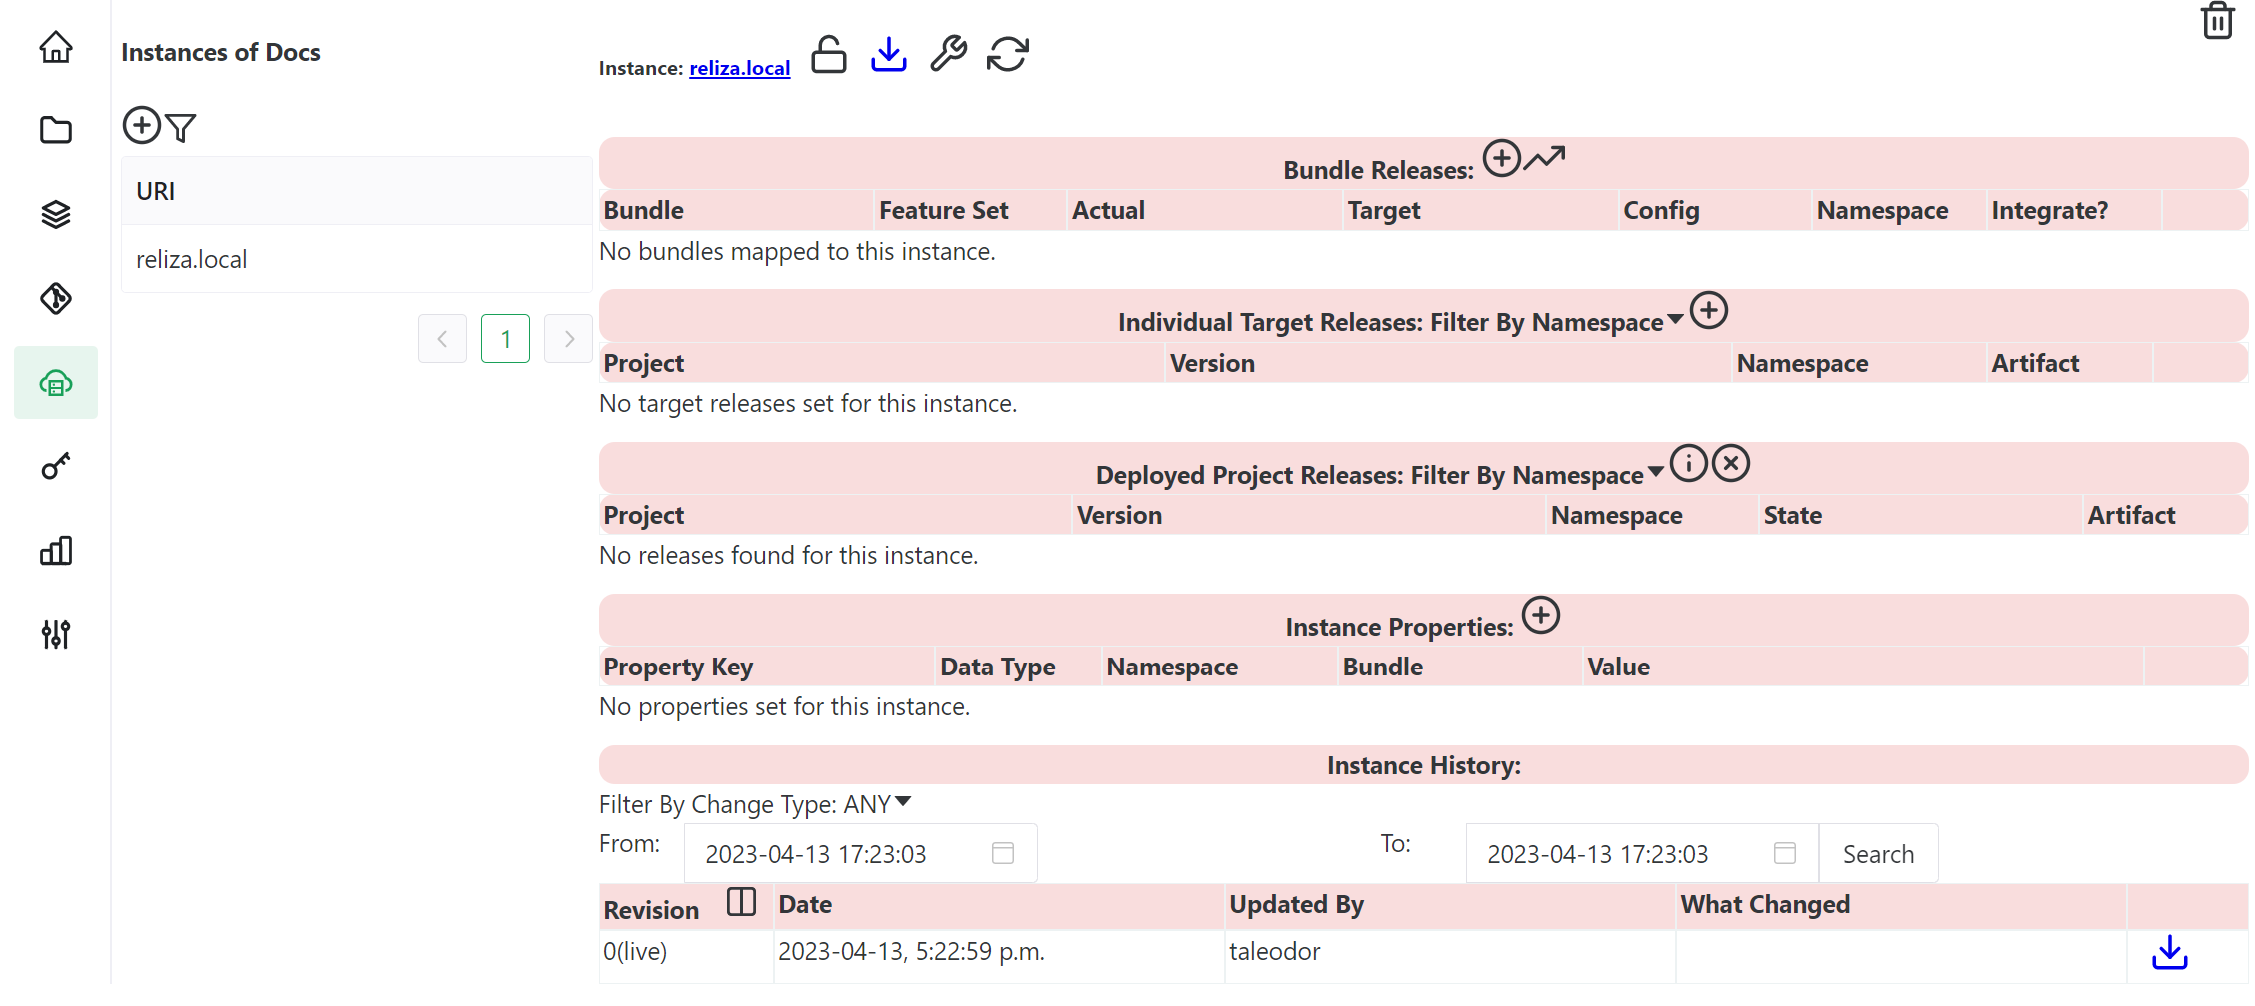
Once the instance is created, you can click on its URI in the Instances menu and notice that (predictably) it has no data assigned or registered to it.
Create a Cluster
If your instance is based on a Kubernetes cluster and you plan to have different deployments in different namespaces, opt to create a cluster instead of instances. For this, click on the plus-circle icon in the Clusters sub-menu on the Instances page.
Enter desired name of your cluster (can be arbitrary name) and click submit. Connect your cluster to Reliza Hub using Reliza CD as described in the next section.
Connecting K8s instance to Reliza Hub
Reliza CD project is available to make a K8s instance connected to Reliza Hub. Either a regular instance or a cluster can be connected. If you are connecting a cluster, its instances would be created in individual K8s namespaces.
Start with obtaining API ID and Key for the instance or cluster (or use organization-wide Write Key, note that instance-scoped key is recommended in most cases). To obtain instance or cluster API ID, click on the Lock icon in the header of the instance or cluster view. Then refer to Reliza CD documentation to deploy it on the cluster via Helm-based installation.
Streaming Metadata from Instance
To populate instance with real data you need to set a watcher agent (or a set of agents) on the actual instance to periodically stream instance deployment metadata to Reliza Hub. If Reliza CD is installed on your instance or cluster and connected to Reliza Hub, it will automatically include this functionality.
However, if for any reason Reliza CD deployment is not desirable, it is possible to use lower level Reliza Watcher project for Kubernetes environments. Refer to the Reliza Watcher project for streaming deployment metadata back to Reliza Hub.
For non-kubernetes environments, make use of the instadata command of the Reliza CLI.
Ephemeral Instances
Reliza Hub will automatically provision a temporary ephemeral instance for you given the following pre-conditions (which may be changed in the future to include wider variety of options):
- Your bundle must be deployable on Kubernetes using a Helm chart
- All corresponding components must be registered on Reliza Hub and the bundle with at least one proper bundle release must be created.
These and other pre-conditions will be expanded below.
Pre-conditions for Ephemerals
Creation of components and bundles in Reliza Hub is described in the following sections of this documentation: create first component and bundling.
While setting up components and bundles, make sure that all of them get at least one release - recommended way to do it is to use automated metadata streaming for components from CI and auto-integrate for bundles, refer to previously mentioned documentation sections for details.
Once components and bundles are set up, do the following preparations on your Helm component:
Currently, Reliza ephemerals are using single node K3s instances. Therefore, make sure you have a values file in the helm chart that is able to work on a K3s instance. The easiest way to try out K3s locally is via Rancher Desktop project.
We recommend creating a special values file for your Helm chart, values-reliza.yaml, that would contain all necessary parametrization.
In this values file, if you have a property to set project protocol (http or https), opt for https.
If you have an option to set project host, set it to $RELIZA{PROPERTY.FQDN} - this will be automatically resolved by Reliza CD at deployment time.
Also, ephemeral URI may vary, therefore make sure that your project architecture supports assignment of arbitrary front-end URIs via parametrization.
Finally, if your chart makes use of any secrets internally, register those secrets as $RELIZA{SECRET.my_secret_reference}, where my_secret_reference is an arbitrary key that you choose and you would provision on Reliza Hub. Note, that secrets will be passed from Reliza Hub to the instance in the sealed form as per Bitnami Sealed Secrets project. For a sample, how you can make your chart compatible with such secrets, refer to Reliza ECR Regcred chart which can be found here. Essentially, you are going to list SealedSecret resources using namespace-wide scope to support Reliza CD logic.
Note, that if your images are hosted on ECR, you may want to add Reliza ECR Regcred chart as a dependency to your Helm chart and use that.
Below is a sample values-reliza.yaml file:
yaml
useTraefikLe: true
leHost: $RELIZA{PROPERTY.FQDN}
ecr-regcred:
  enabled: true
  aws_id: $RELIZA{SECRET.aws_ecr_pull_id}
  aws_key: $RELIZA{SECRET.aws_ecr_pull_key}
  create_secret_in_chart: sealed
  registry_server: xxx.dkr.ecr.us-east-1.amazonaws.com
  registry_email: info@reliza.io
secret_name: regcred- Gather all internal secrets and secrets that are needed to pull the Helm chart itself and provision those secrets on Reliza Hub. For this, navigate to Secrets menu in Reliza Hub and create all required secrets with desired keys.
Then, for each secret, click on its distribution icon and pick READ_ONLY for All Reliza Spawned Instances - this will make those secrets readable by ephemerals.
- Designate your Helm component in Reliza Hub and such, set authentication and configure default values file. For this, navigate to the Components menu in Reliza Hub and select your Helm component.
Once in the Component view, click on the wrench icon on top.
In the next menu, switch Component Kind from Generic to Helm.
In the Component Authentication Type dropdown choose desired authentication type:
- Select No Credentials if your Helm chart is publicly available and does not require any authentication for downloading.
- Select Helm Credentials for standard authentication mechanism, such as OCI registry or Chartmuseum.
- Select ECR Credentials if your chart is hosted on AWS ECR.
If you opted for Helm Credentials or ECR Credentials, select corresponding secrets in the Component Authentication Login Secret and Component Authentication Password Secret fields.
Then enter Helm Values File for Ephemerals, which typically would be values-reliza.yaml as described above.
Spawning Ephemerals
Once all pre-conditions are resolved, click on the Instances icon in the left-side menu and from the Instances page, click on the plus-circle icon (just like in the Persistent instance case).
There, opt for Auto Ephemeral tab. On that tab select desired Bundle, Feature Set and Release - and click on Pick Release for Ephemeral Instance.
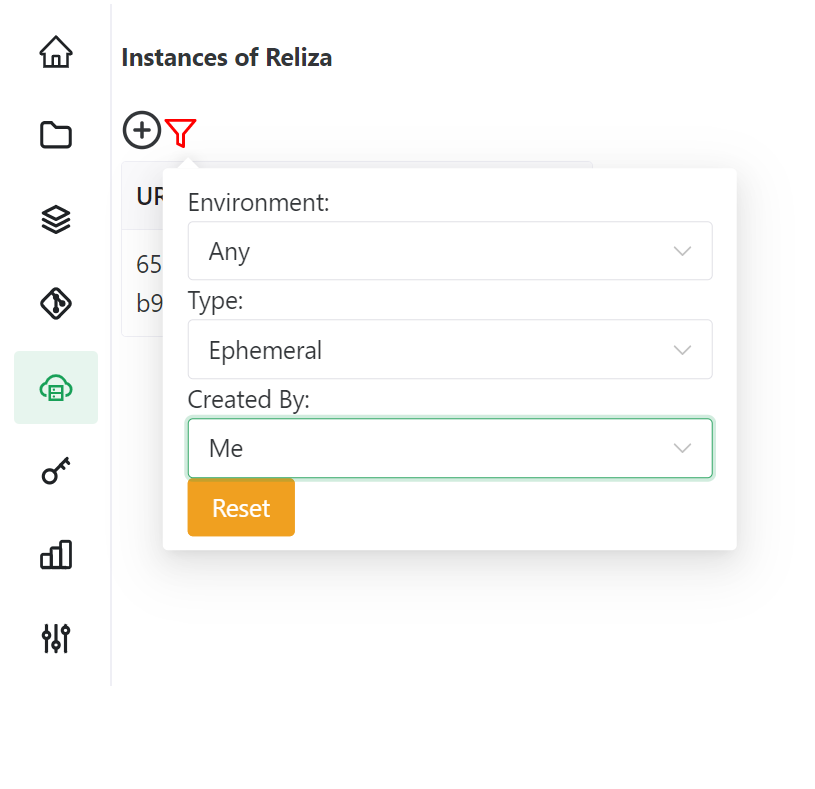
Then confirm the values yaml file used for the Ephemeral and click Submit. Reliza Hub will initiate process to spawn ephemeral instance. You will see new Instance displayed in the list of Instances. You can also use instance filter to filter only by Ephemerals and created by yourself as shown below:
If you have configured Slack or MS Teams integration for Reliza Hub, you will receive notifcations on the progress. Typical spawn time is currently around 3 minutes plus the time to actual deploy the Helm component.